Open PKG File
Information, tips and instructions
Create PKG file
Making a PKG file is relatively simple, you just need to create a ZIP file and change the extension. In the following steps we will describe how to create a ZIP file and then change the extension. Created PLG file should be valid for Windows, Linux and MacOS based operating systems. We will show PKG generation steps for Windows OS.
Steps to create a ZIP file
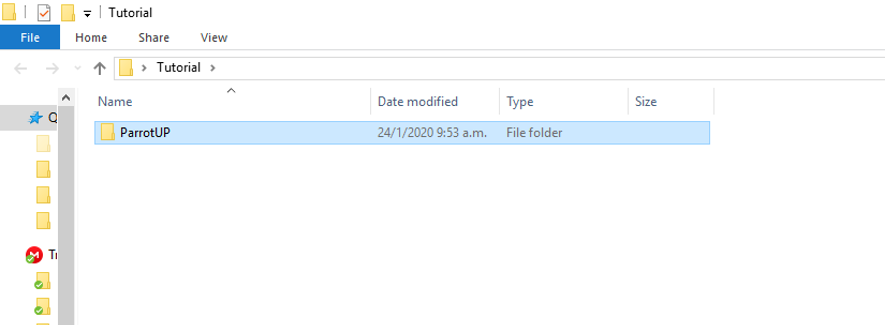
Create a folder
The fastest way to create a Zip file is to place all the files and scripts you want to archive in a folder. You can place several files and folders in a single folder that you will convert into a ZIP file. Give the folder the name you want.
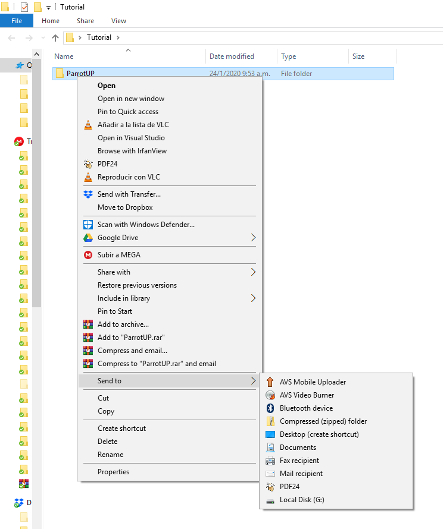
Right click on the folder.
Hover over the "Send to" option. This will open a new submenu. Select “Compressed folder (zipped)”. You can also select several files in the browser, right click on one of them and follow the steps described above. The resulting ZIP file will contain all the selected files and will have the name of the file you right clicked on.
Wait for the folder to be created.
Depending on the number of files, their type and size in MB, the creation may take a few minutes. A progress bar will be displayed as the files are added. Once the process is complete, the zip file will appear in the same location as the original folder.

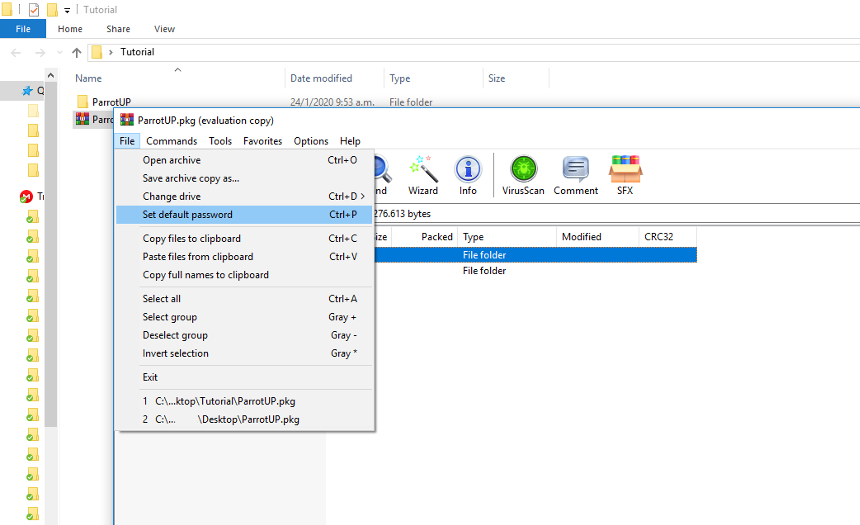
Enter password
This step is optional, if you want to put a password to the ZIP file you must download a proprietary compression program, since the Windows native compression application does not include that function. There is both free and paid compression software, some of the most popular programs are:
- 7-Zip
- IZArc
- PeaZip
- WinRAR
How not to create top level folder inside the PKG
This step is also optional and is only needed if you have the files grouped within the same directory, but you don't want to create another folder. In this case you have to select all the files to be included in the ZIP and later in the PKG and then right click, select the “Send to->Compressed (zipped) folder”; a compressed file will be created, with the name of the first file selected, which you can later rename.
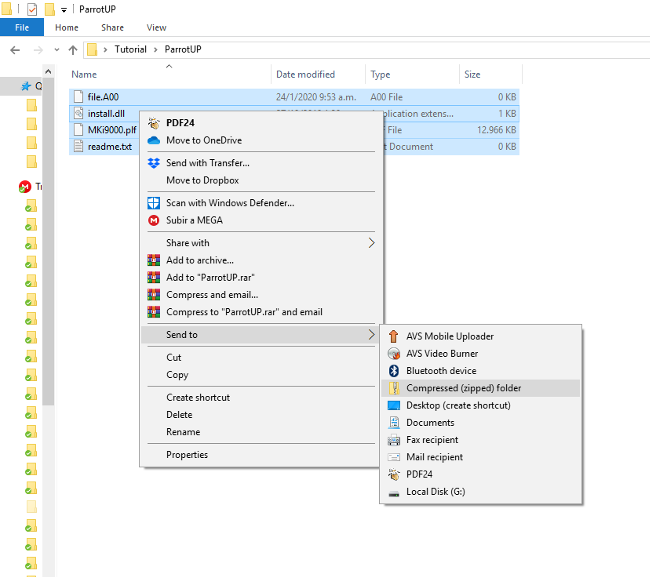
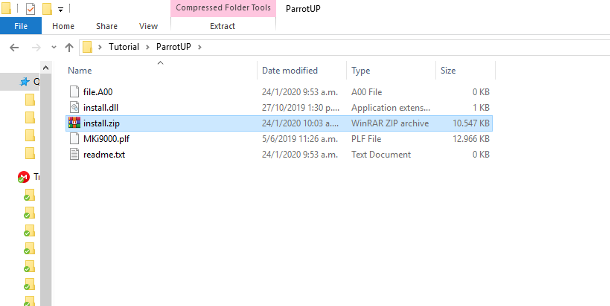
Here you can see that all files were compressed successfully with this method.
Rename Extension
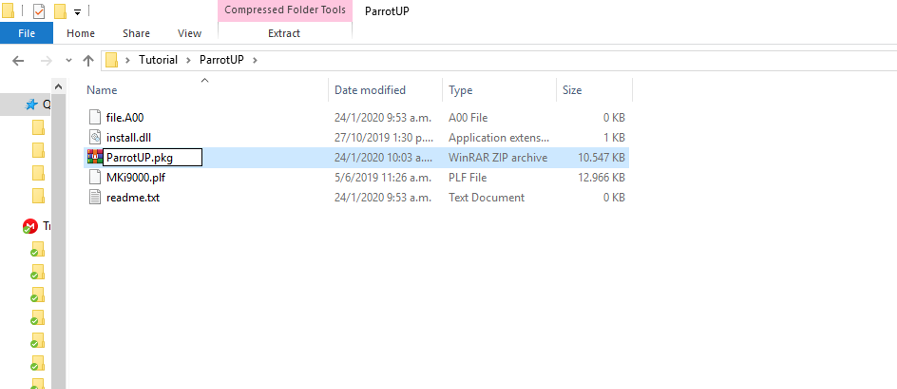
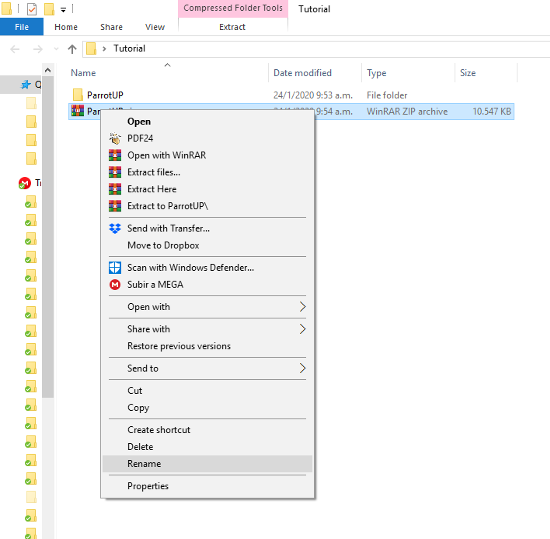
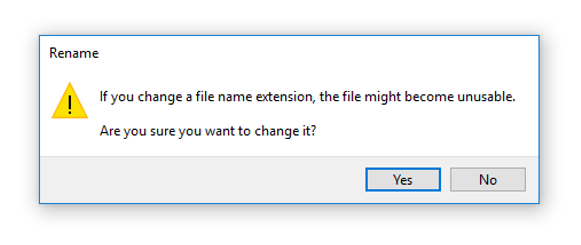
To generate the PKG file, just right-click on the previously created ZIP file and then "Rename". The name of the file is usually shaded and not the extension, you must then shade the extension and change it to PKG. Note that it is essential that you must keep the point, otherwise the file will be unusable. To do this task you must have enabled the option to see the file extensions in Windows.
If this warning appears, just click ‘Yes’ and the extension will change.
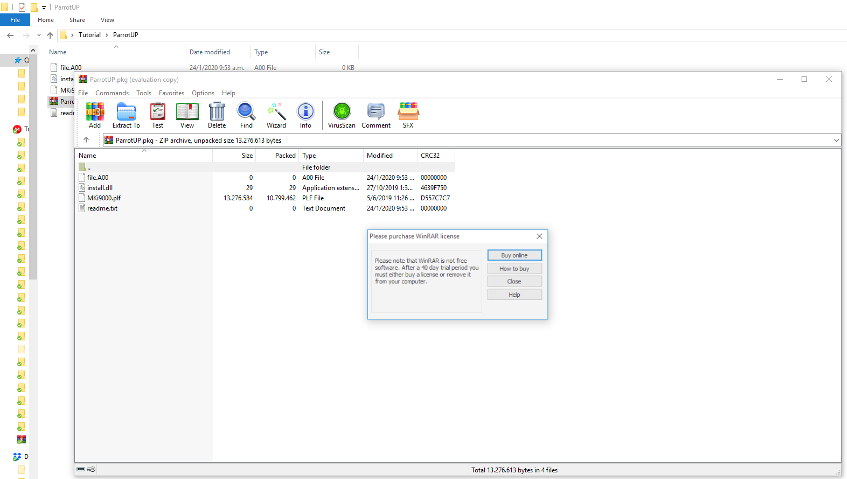
Here you can see the features of the new PKG file.
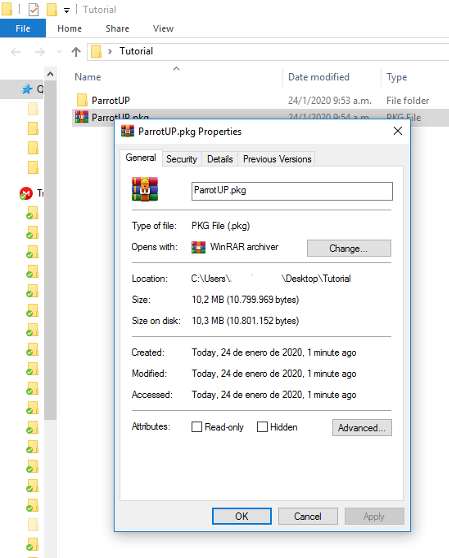
As you could see, the creation of a PKG file is quite simple, you just have to carefully follow the steps.
 Package File